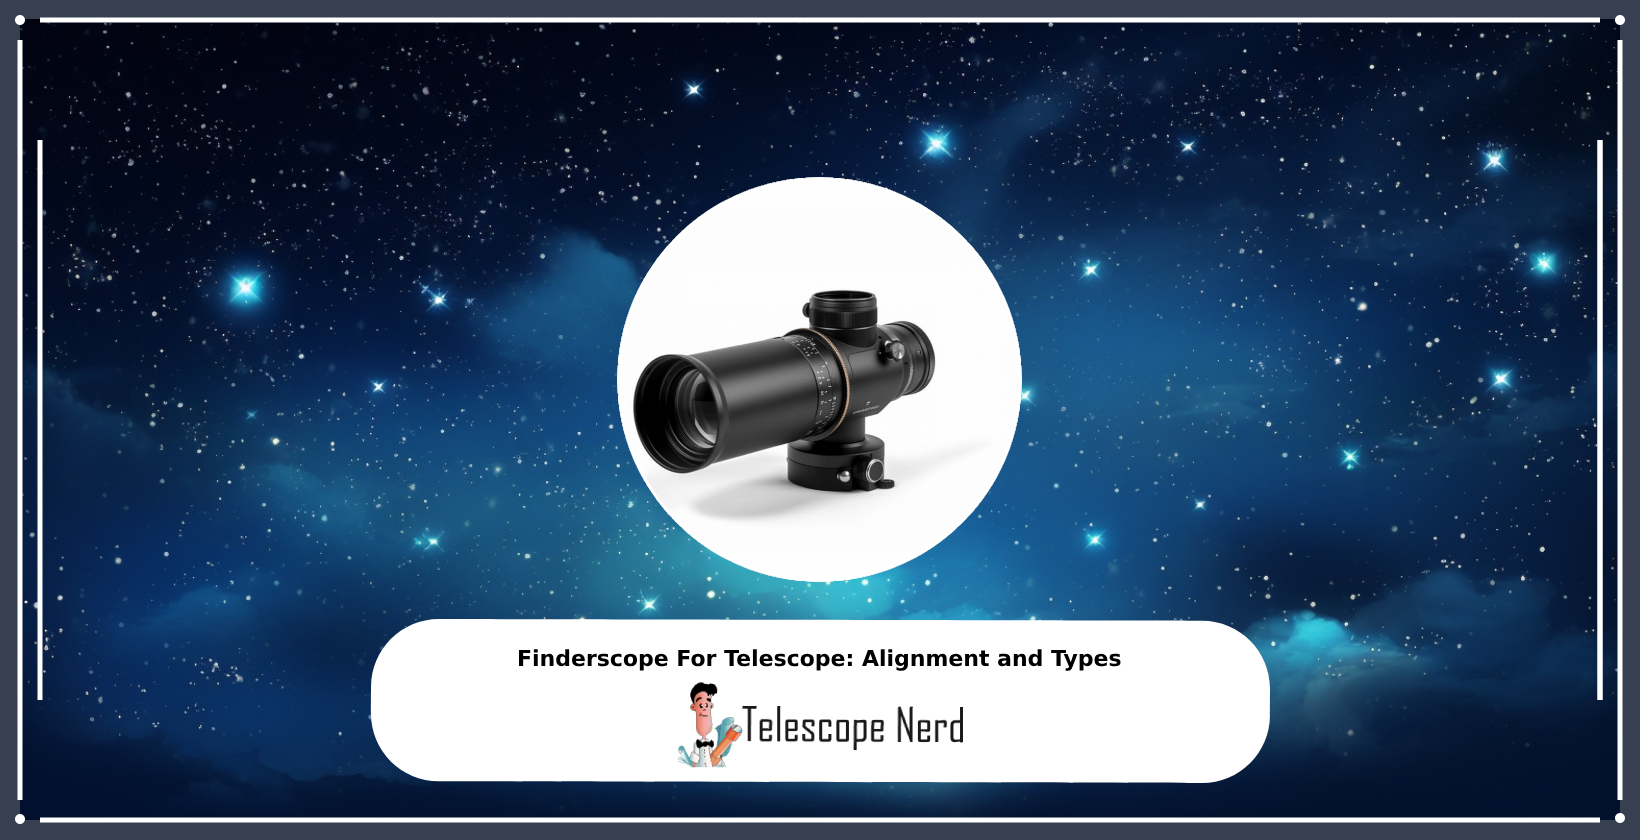
Finderscope For Telescope: Alignment and Types
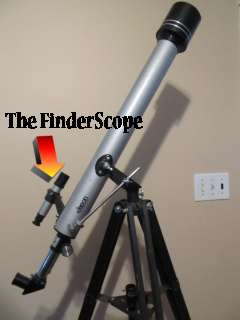
The finderscope is a part of a telescope that helps locate and center celestial objects in the primary telescope. Knowing the design and function of a finderscope allows astronomers to accurately and efficiently locate celestial objects.
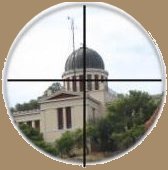
The finderscope is a secondary telescope mounted atop the Optical Tube Assembly (OTA), designed specifically to help astronomers locate objects more easily. The finderscope locates objects by offering a wider field of view and lower magnification than the primary telescope. Most finderscopes also have crosshairs or a reticle, which centers the target object for the primary telescope. The field of view, magnification, and reticle make it easier to pinpoint specific celestial objects before viewing them through the main telescope.
Finderscopes are typically made from materials like plastic or metal, with lenses made of glass or acrylic. The choice of material will affect the finderscope’s weight, durability, and clarity of the image. The finderscope needs precise alignment and proper attachment to the primary telescope to pinpoint objects accurately.
How to Align a Finderscope With a Telescope?
To align a finderscope with a telescope, astronomers must point the telescope toward a distant object during the day, position it until it’s centered in the eyepiece, make necessary adjustments using the finderscope’s screws, recheck the primary eyepiece and refine the alignment at night using a bright star.
Begin the alignment process during the daytime to ensure accurate setup using clear landmarks. Point the telescope towards a fixed distant object, like a tree’s tip or a building’s edge. The objective is to make discrepancies evident against a clear, unmoving backdrop.
With the telescope’s eyepiece at its lowest magnification, adjust its positioning until the chosen object sits squarely in the center of the eyepiece’s view. This central alignment ensures that the primary scope is accurately targeted.
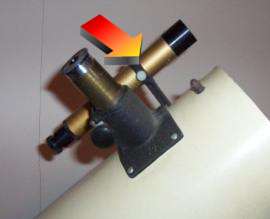
Upon viewing through the finderscope, if the targeted object isn’t centered, one must make adjustments. Every finderscope has adjustment screws, which are typically small, round or hexagonal in shape, and are found on the side or base of the finderscope. While maintaining the view through the finderscope, gently tweak these screws. The goal is to bring the distant object to sit at the crosshairs’ intersection or under the red dot, depending on the finderscope type.
Toggle back to the telescope’s primary eyepiece and recheck its image. If the previously centered object has drifted off-center, repeat the process until both scopes precisely coincide. Once nighttime falls, pick a bright star to refine the alignment. The star’s singular brightness amidst the vast dark provides a pinpoint location for refining the finderscope’s aim.
Though the core alignment methodology remains consistent across finderscopes, the fine-tuning and adjustment details will differ in different types. Always consult the finderscope’s specific manual to ensure correct alignment procedures.
How to Attach a Finderscope to the Optical Tube?
To attach the finderscope to the optical tube, position the bracket on the tube’s designated spot, secure it with the provided screws, slide the finderscope into the bracket and make adjustments to ensure precise alignment. The optical tube is the main body of the telescope where the primary optics reside, such as mirrors or lenses. It’s pivotal for gathering and focusing light to produce the images we see.
Most optical tubes come with predetermined spots for finderscope attachment, often denoted by small screws or brackets. If the brand or model of the finderscope and the optical tube don’t match, one needs a specific bracket or holder to ensure a secure fit.
Position the bracket onto the predetermined spot on the optical tube. Using the screws provided, securely fasten the bracket to the tube, ensuring it’s snug but not overtightened, which damages the tube.
Once the bracket is in place, slide the finderscope into it. There will be thumb screws or another mechanism to securely hold the finderscope in its bracket. Initially, the finderscope generally will not perfectly align with the main telescope optics.
To achieve precise alignment, one must make adjustments, ensuring that what is seen in the finderscope matches the view in the telescope’s eyepiece. Adjusting typically involves turning small screws or knobs on the finderscope mount until both views are synchronized.
Different brands or types of telescopes have unique mechanisms or steps. Always refer to the user manual of the specific telescope and finderscope for any specialized instructions.
Is Finderscope an Important Part of the Telescope?
Yes, the finderscope is a crucial component of a telescope. Its primary function is to help users locate and center celestial objects before observing them through the main telescope, which often has a much narrower field of view. Without the aid of a finderscope, pinpointing distant stars, planets, or other celestial phenomena would be much more time-consuming.
One of the key advantages of a finderscope is its wide field of view. This part of a telescope allows for a broader perspective of the night sky, making it easier to identify and align targets. Once an object is centered in the finderscope, it ensures that the same object will be within the viewing range of the main telescope, even if the main optics have a highly magnified and limited view.
While the main optics of a telescope produce detailed and magnified images, the finderscope serves as an essential navigational tool, guiding users to their desired celestial destinations with ease and accuracy.
What is a Finder Scope and how do you use it
A finder scope is a small, low-power telescope used to help locate objects in the night sky. Finder scopes are typically mounted on astronomical telescopes, and they provide a wider field of view than the main telescope. This makes it easier to find faint objects that would be difficult to spot through the main telescope alone.
Most finder scopes have a magnification of 6x or less, and many have an optical sight tube that makes it easy to line up the scope with the object you want to observe. Some finder scopes also come with built-in illuminators, which can be used to illuminate the reticle (crosshair) for better visibility in low-light conditions. If you are new to astronomy, a finderscope can be a valuable tool for learning your way around the night sky. Once you get more experienced, you may not need to use a finder scope as often, but it can still be helpful for quickly finding faint objects.
How to use a Finder Scope?
1. First, you need to find an object to look at. It can be anything – a star, a planet, the Moon, or even a distant galaxy. Once you’ve found something that you want to take a closer look at, point the finder scope at it.
2. Next, take a look through the telescope’s eyepiece. You should see the object that you are pointing the finder scope at. If you do not, adjust the focus until you do.
3. Now, slowly move the telescope until the object is in the center of the eyepiece. Once it is centered, you should take a look and see how it looks. If it is still not in focus, adjust the focus until it is.
Step by step guide for using a finder scope: We are looking at the night sky.
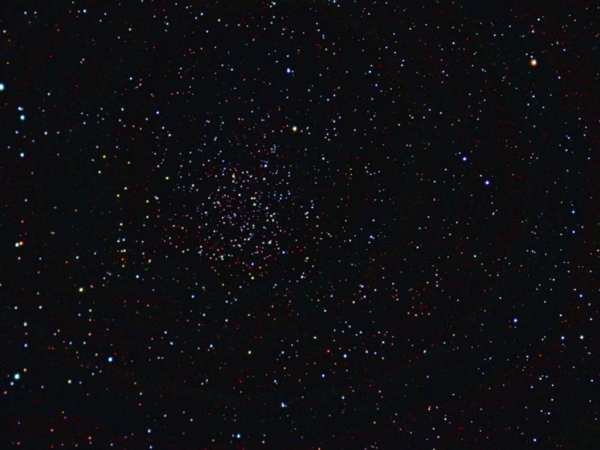
When we are looking through the telescope we are seeing a very small part of the sky. It is so small that you have to move the scope around a lot to try to find anything. It can be tricky and a bit disorienting. It’s like trying to drive your car while looking through a paper towel tube.

But when you look through the finderscope you see a lot more sky. And it usually has some kind of a crosshair on it so you know where the center is. So right there, where the cross hairs are, is where the actual telescope is looking. See how this can be much easier to find things? You find something with the finderscope then you look in the telescope and there it is!
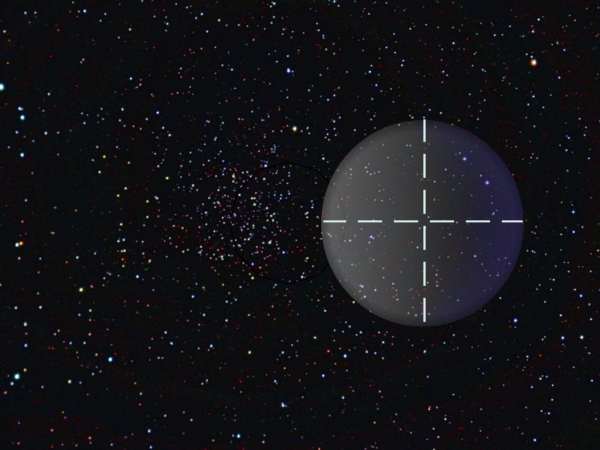
The only thing you have to do is to setup the finderscope so the crosshairs are pointing to the same place as the telescope. You do this by pointing the telescope at something easy to find. Then youi adjust your finderscope so it is right on the spot. Now your finderscope and telescope are lined up.
With most telescopes you do this alignment by adjusting screws on the finderscope. The picture here shows one of the silver screws that is adjusted.
Most finder scopes are small refractor telescopes. They have an eyepiece and the main body tube, just like a regular telescope, but they are much smaller. The eyepiece is usually placed at the end of a short focuser tube attached to the main body tube.
There are two ways to use a finder scope. The first is to look through the scope and use it like a pair of binoculars. This is great for finding stars and other objects in the sky, but it is not very good for seeing anything in detail.
The second way to use a finder scope is to point it at an object and then look through its eyepiece. This is called using the finder scope as a guide. It is a bit more complicated than just looking through the scope, but it is much more effective for seeing things in detail.
What Are the 4 most common Types of Finderscope?
The types of finderscopes refer to a variety of designs, each with a unique operational method or optical system. These systems range from non-magnifying, single-point projections to magnified, multi-point displays. The four most common finderscope types are given below.
- Red Dot
- Telrad
- RACI
- Reflex
1. Red Dot Finderscope
A red dot finderscope is a non-magnifying pointing device used on telescopes to help align the main instrument with a particular object in the sky. Unlike traditional finderscopes that magnify a small section of the sky, the red dot finderscope provides a non-magnifying view, making it simpler and faster to align with targets.
The red dot finderscope works by projecting a red LED dot onto a transparent lens. This dot acts as a pointer or marker. When an astronomer looks through the finderscope, they adjust the red dot to center and align the main telescope to the desired celestial object.
The red dot finderscope employs a basic LED to create the red dot. This dot is then projected onto a transparent lens, typically made from glass. The device also has adjustment knobs that allow for precise calibration, ensuring that the red dot aligns perfectly with where the main telescope is pointed.
The red dot finderscope is widely used due to its straightforward design and ease of use. Because the red dot finderscope doesn’t have magnification, the entire field of view is broad, allowing astronomers to get a comprehensive view of the sky and quickly locate their desired objects.
2. Telrad Finderscope
A Telrad finderscope is a unique non-magnifying pointing device that aids astronomers in aligning their telescopes with specific celestial objects. The Telrad offers a direct view of the sky with concentric circles to further assist in star-hopping and alignment.
The core function of a Telrad finderscope is its illuminated reticle system. Instead of a single dot, the Telrad projects three concentric rings onto a transparent viewing window. These circles represent specific angular diameters in the sky, assisting astronomers in gauging distances between stars.
The primary components of a Telrad finderscope include an LED illuminator to project the rings, a transparent viewing screen where the rings are displayed, and adjustment controls for calibration. The rings are brightened or dimmed depending on the ambient light conditions, ensuring optimal visibility.
The primary benefit of using a Telrad finderscope is the added precision these rings provide. By offering a reference for angular distances, astronomers more accurately move from one star to another, a method known as star-hopping. Telrad’s rings are especially beneficial for those who use star charts or planetarium software, as the angular reference makes it easier to translate what’s on paper or screen to the actual sky.
3. RACI Finderscope
A RACI finderscope, standing for Right Angle Correct Image, is a specialized finderscope design that offers both magnification and an erect, correct-left-to-right image. It serves as a bridge between simple non-magnifying pointing tools and the primary telescope, enabling a more detailed view of the night sky while maintaining the intuitive orientation.
The RACI finderscope operates by incorporating two main optical elements: a right-angle prism or mirror and a set of lenses. The right-angle design ensures that when looking through the finderscope, it’s at a 90-degree angle to the direction of the object, offering more comfortable neck positioning. The lenses, on the other hand, both magnify and correct the image, ensuring that it isn’t flipped or inverted.
The RACI finderscope comprises the eyepiece, a set of lenses for magnification, and the right-angle correcting prism or mirror. These components work together to provide a zoomed-in, correctly orientated view of celestial objects.
The clear advantages of the RACI finderscope lie in its ergonomic design and corrected image. For those who find star maps or other astronomical references useful, the RACI’s correct orientation ensures that the view in the finderscope matches these references without the need for mental adjustments.
4. Reflex Finderscope
A reflex finderscope, often termed a “reflex sight,” is a type of non-magnifying finderscope that utilizes a reflected reticle or pattern, such as a circle or crosshair, to aid in aligning the telescope with celestial objects. Reflex sights provide many patterns, including crosshairs, dots and circles, to add versatility to the alignment process.
The working mechanism of a reflex finderscope centers around a partially reflecting lens. This lens reflects the projected reticle back to the user’s eye. When an observer looks through a reflex finderscope, they perceive the projected reticle superimposed on the natural night sky, aiding in alignment without obstructing the broader view.
The reflex finderscope houses a projector, typically an LED, which projects the reticle onto the lens. The angle of this lens and its partial reflectivity ensures the reticle is reflected back towards the observer while simultaneously allowing them to see through the lens to the sky beyond.
Reflex finderscopes bring several advantages to the table. Their reticle patterns often provide more alignment reference points than a simple red dot, which are particularly helpful when trying to align with faint or densely packed stars. Furthermore, with no magnification and a wide field of view, the reflex finderscope offers a comprehensive perspective of the sky, facilitating quicker and more intuitive object location.
Why is the Image in Finderscope Upside Down?
The image in the finderscope is inverted because of the path light takes when passing through a convex lens. Light from the top of a celestial object refracts downwards after passing through the lens, and vice versa. This causes the image formed to appear upside-down and reversed.
For stargazing, orientation typically isn’t a significant concern, as celestial objects aren’t perceived with a standard “up” or “down.” However, for those who prefer a correctly-oriented image, there are Right Angle Correct Image (RACI) finderscopes available. These finderscopes contain additional optics, like a prism or a mirror, to correct the orientation of the image, presenting it right-side-up and correctly oriented left-to-right.