How to Take photos of the Sun with a DSLR camera
Ok, so you have this kind of camera.
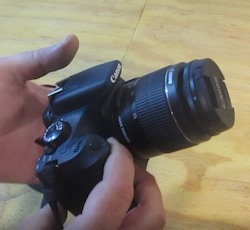
And I am assuming you know a little bit about how to use it. You know that the lenses are quickly interchangeable. You snap one off and you snap another one in place.
For taking pictures of the sun you need to adapt your camera to the telescope. And you do this with a pair of items called a “t-ring” and a “t-ring adapter”.
And these adapters, just like lenses for cameras are specific to the camera brand. If you have a Canon you need to get a Canon specific t-ring and adapter. For Pentax you need a Pentax specific t ring and adapter and same goes for Nikon.
The adapters for the three major brands of DSLR cameras are avialable on amazon here:
- t-ring and adapter for Canon ( This is the exact one that I myself bought on amazon)
- t-ring and adapter for Pentax
- t-ring and adapter for Nikon
It’s really quite easy! Let’s do it.
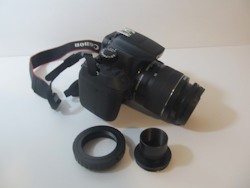
Here is the camera and the pair of adapters.
Remove the lens from the camera then click in the t-ring. It fits and clicks in just like any other lens.
Then you screw in the t-ring adapter. It simply threads into the t-ring.
And that’s it. Quite simple. It is ready to attach to the camera.
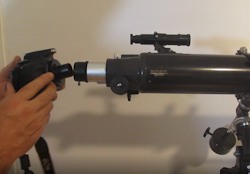
Next you simply remove any eyepiece you have in your telescope, insert the camera t-ring adapter and tighten the screws on the telescope tube
Now you are almost ready to use it. Just one more thing.
The telescope is now out of balance. What I mean is that you have added a heavy weight to one end of it (the camera). And you should re-balance the telescope so it operates smoothly without moving in undesirable ways. You can point it at the sun and the weight of the camera will droop the telescope!
So, reset the weight of everything, rebalancing the telescope.
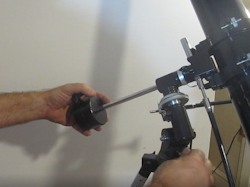
You do this in two steps. First you loosen the cradle nuts on the telescope and slide the telescope tube forward in the cradle until the telescope weight is balanced.
Then adjust the counterweight. Sliding it further out to balance it with the new weight of the telescope tube/camera.
Four tips:
Don’t forget to place the solar filter on the telescope. Do this first, before you do anything else. And be sure it is secure. Put a rubber band on it if needed. You don’t want it to fall off as you move the telescope.
The Finderscope on your telescope (That’s the little telescope mounted on the scope).
Never look through it at the sun. It will blind you. And keep the caps on it. Do not allow the sun to shine through it. The sun will melt it quickly. If your finderscope has no caps then cover it somehow or take it right off the telescope.
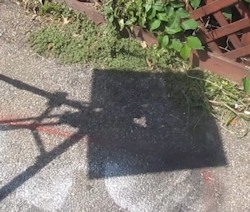
Trying to point the telescope at the sun can be tricky! You can use the shadow of the telescope to get it right. Move the telescope until the shadow of the tube until it is minimal.
Finally, place a large piece of cardboard or foamboard over the telescope like this. It will put your eye and the camera in shade. It makes it much easier to work with the camera and telescope.
There you go! This will make it easier to work with the camera.
Now you are ready to start taking pictures. This picture here has a lot of glare because of the sun. I was trying to hold one camera while taking solar pictures with the canon! But you get the idea. And, let me give you a couple of tips that will help.
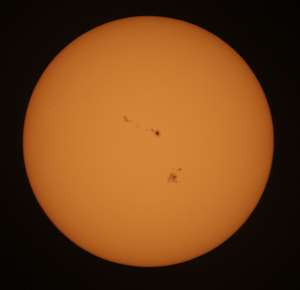
Here is one of the pictures I took:
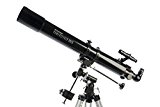
Celestron PowerSeeker 80EQ Telescope
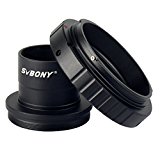
SVBONY T2 T Ring Adapter and T Adapter 1.25” Metal for All Canon EOS Standard EF Lenses and Telescope Microscope Camera Astrophotography Accessories (This is the exact one that the telescope nerd bought and uses in the video.